Unlock Slow-Cooked Flavor in Minutes: The Best Instant Pot Chili Recipe
Imagine a hearty bowl of chili, rich with deep, comforting flavors, spices perfectly melded, and meat so tender it practically melts in your mouth. Now imagine achieving that same award-winning taste not after hours of simmering on the stovetop, but in a fraction of the time, thanks to the magic of your Instant Pot. This isn't just any weeknight meal; this is the best Instant Pot chili recipe you’ll find, designed to deliver that coveted slow-cooked essence with incredible speed and convenience.
Chili is the quintessential comfort food, a go-to for chilly evenings, game days, or simply when you need a satisfying, flavor-packed meal. Traditionally, achieving truly exceptional chili involves a long, slow simmer, allowing the ingredients to marry and the spices to deepen. The Instant Pot, a modern kitchen marvel, revolutionizes this process, using pressure to infuse flavors and tenderize ingredients at an accelerated pace. The result? A thick, robust, and utterly delicious chili that tastes like it’s been cooking all day, but comes together in under an hour of active time.
Why the Instant Pot is Your Chili’s Best Friend
For chili enthusiasts, the Instant Pot offers undeniable advantages that elevate it above traditional methods, especially when time is of the essence. Here’s why it’s a game-changer:
- Speed and Efficiency: This is the most obvious benefit. The pressure cooking function dramatically reduces cooking time, transforming ingredients into a melt-in-your-mouth stew in minutes rather than hours. What would take half a day on the stove can be ready in under an hour in your Instant Pot.
- Intensified Flavors: Pressure cooking creates an environment where ingredients' flavors are forced into each other, resulting in a more profound and complex taste profile. Spices bloom more intensely, and the beef absorbs all the aromatic goodness, mimicking the deep flavors typically associated with prolonged simmering.
- One-Pot Wonder: From browning the beef and sautéing aromatics to pressure cooking the final dish, everything happens in a single pot. This means less cleanup and a more streamlined cooking process, making it perfect for busy weeknights.
- Consistent Results: The Instant Pot takes the guesswork out of cooking. Once you set the time and function, it consistently delivers perfectly cooked chili every time.
- Tender Perfection: Even tougher cuts of meat become incredibly tender under pressure, and beans soften beautifully, ensuring a satisfying texture throughout your chili.
Crafting the Best Instant Pot Chili Recipe: A Step-by-Step Guide
This recipe balances classic chili ingredients with clever techniques to maximize flavor and minimize effort. Get ready to impress your taste buds with this hearty, flavorful dish.
Ingredients:
- 1 tablespoon vegetable oil (or olive oil for richer flavor)
- 1 pound lean ground beef (80/20 or 90/10 works best for texture and less grease)
- 1 large onion, diced (about 1.5 cups)
- 4 cloves garlic, minced (fresh is always superior!)
- ½ teaspoon salt, plus more to taste
- ¼ cup chili powder (good quality makes a difference!)
- 1 tablespoon ground cumin
- 1 teaspoon dried oregano (Mexican oregano for an authentic touch)
- 1 ½ cups water (or beef broth for extra depth)
- 4 (15 ounce) cans kidney beans, drained and rinsed (or a mix of your favorite beans!)
- 1 (28 ounce) can crushed tomatoes
- 2 tablespoons tomato paste
Directions:
- Brown the Beef: Turn on your Instant Pot and select the Sauté function (Normal or More setting). Add the ground beef. Cook and stir, breaking it apart with a spoon, until it's fully browned and crumbly, typically 5 to 7 minutes. This step is crucial for developing rich flavor. Once browned, drain and discard any excess grease. Transfer the cooked beef to a separate bowl and set aside.
- Sauté Aromatics & Bloom Spices: Pour the oil into the Instant Pot. Add the diced onion, minced garlic, and ½ teaspoon salt. Select the Sauté function again. Cook until the onion is softened and translucent, about 5 to 7 minutes, stirring occasionally. Create a small "hole" in the center of the mixture and add the chili powder, ground cumin, and dried oregano directly to the hot pot. Let the spices toast for about 30 seconds – this "blooming" step enhances their aroma and flavor. Stir the spices into the onion mixture.
- Deglaze and Add Liquid: Return the browned beef to the pot. Pour in the 1 ½ cups of water (or beef broth). Stir well, being sure to scrape any browned bits from the bottom of the pot with a wooden spoon. This prevents the "Burn" error and incorporates all that delicious fond into your chili.
- Add Remaining Ingredients: Stir in the drained and rinsed kidney beans, the crushed tomatoes, and the tomato paste. Do not stir again after this point if you want to avoid a "Burn" warning, as the thicker tomato products can stick to the bottom. Layering is often recommended.
- Pressure Cook: Close and lock the lid of your Instant Pot, ensuring the sealing ring is properly in place and the vent is set to "Sealing." Select the Chili/Bean function (if your model has it) or Manual/Pressure Cook on High pressure. Set the timer for 10 minutes. It will take 10 to 15 minutes for the pot to come to pressure before the cooking countdown begins.
- Natural Pressure Release: Once the cooking time is complete, allow the pressure to release naturally (NPR) for 10 to 40 minutes, according to manufacturer's instructions. This gradual release helps to tenderize the ingredients further and allows the flavors to deepen even more. After the natural release is complete, carefully move the vent to the "Venting" position to release any remaining pressure. Once the float valve drops, unlock and remove the lid.
- Serve and Enjoy: Stir the chili well before serving. Ladle into bowls and customize with your favorite toppings!
Expert Tips for Next-Level Instant Pot Chili
While the basic recipe delivers incredible flavor, these expert tips will elevate your Instant Pot chili from great to truly unforgettable, ensuring you master the BEST Instant Pot Chili: Easy Weeknight Meal & Award-Winning Flavor every time.
Pre-Preparation for Ultimate Convenience:
To save precious time on a busy weeknight, follow this smart prep strategy the night before:
- Brown the Beef: Cook and drain the ground beef, then place it in a covered container in the refrigerator.
- Chop Aromatics: Dice your onion and mince your garlic, storing them in separate covered containers in the refrigerator.
- Measure Spices: Combine all your dry spices in a small, covered container.
With these steps done, your cooking time on the day will be cut significantly!
Customize Your Beans and Liquid:
This recipe calls for kidney beans, but your chili can be as versatile as your pantry. You can easily substitute kidney beans with black beans, pinto beans, or even a mix of several types. If using dried beans instead of canned, there’s no need to presoak them in the Instant Pot, but you will need to increase the cook time to 30 minutes for tender results (use about 2 cups of dried beans). If you prefer even softer beans, you can extend the cooking time to 45 minutes. A crucial tip: ensure your dried beans aren't old, as older beans often won't soften properly. For more ideas on how to customize your chili, check out this guide on Hearty Instant Pot Chili: Versatile Recipe for Any Bean & Preference.
While water works fine, substituting beef broth for the 1 ½ cups of water adds another layer of rich, savory flavor. If using dried beans, you may also want to increase the total liquid to 2 cups to ensure adequate moisture for cooking.
Achieving Your Preferred Chili Thickness:
Instant Pot chili can sometimes be a bit thinner than stove-top versions due to the necessary liquid for pressure building. If you prefer a thicker chili, here are a few methods:
- Mash Some Beans: After the pressure release, remove about half a cup of beans, mash them with a fork, and stir them back into the chili.
- Cornstarch Slurry: Mix 1-2 tablespoons of cornstarch with an equal amount of cold water to form a slurry. Stir this into the hot chili after cooking, using the Sauté function for a few minutes until it thickens.
- Simmer Down: After releasing pressure, leave the lid off and use the Sauté function (Low) to gently simmer the chili for 10-15 minutes, allowing excess liquid to evaporate.
Conversely, if you love to serve your chili over rice, a slightly thinner, "soupy" consistency is actually ideal for soaking into the grains. The Instant Pot is also fantastic for cooking rice, making a complete meal a breeze!
Flavor Boosters and Topping Suggestions:
- A Touch of Heat: For those who love a kick, add a pinch of cayenne pepper, a diced jalapeño (sautéed with the onions), or a dash of chipotle powder along with the other spices.
- Smoky Depth: A teaspoon of smoked paprika can add a wonderful smoky dimension without needing liquid smoke.
- Finishing Touch: A squeeze of fresh lime juice or a tablespoon of apple cider vinegar stirred in at the end can brighten all the flavors beautifully.
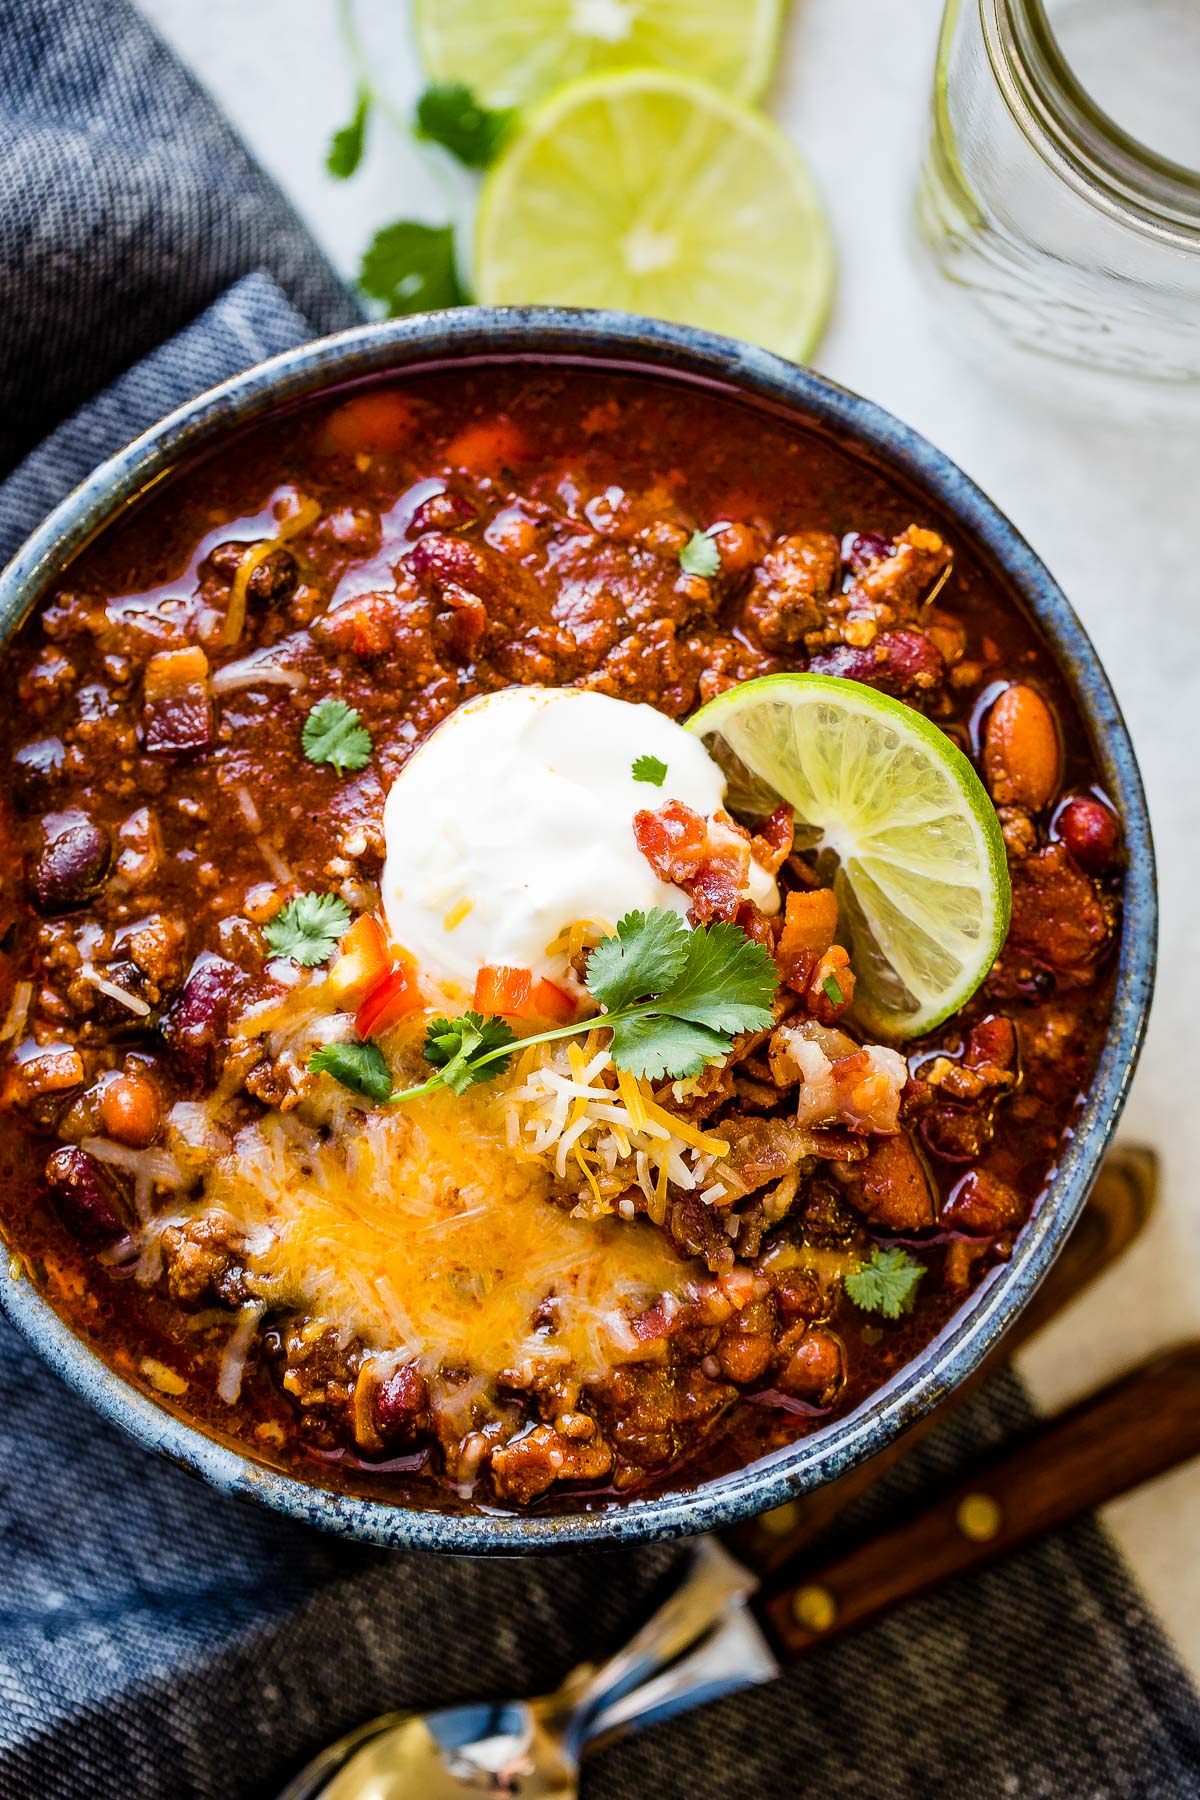
- Toppings Galore: The right toppings transform a bowl of chili. Offer a spread of shredded cheddar or Monterey Jack cheese, a dollop of sour cream or Greek yogurt, fresh cilantro, diced avocado, sliced green onions, crunchy tortilla strips, Fritos, or even a side of warm cornbread.
Storage and Reheating:
This Instant Pot chili is fantastic for meal prep! It stores wonderfully in an airtight container in the refrigerator for up to 3-4 days. It also freezes beautifully for up to 3 months. Thaw overnight in the refrigerator and reheat gently on the stovetop or in the microwave. The flavors often deepen even more after a day or two!
Conclusion
There you have it: the best Instant Pot chili recipe that brings the soulful satisfaction of a slow-cooked meal to your table with unparalleled speed. No longer do you need to wait hours to enjoy rich, deeply flavored chili. With your Instant Pot, you can whip up a comforting, hearty, and versatile dish that's perfect for any occasion, from a quick weeknight dinner to a festive gathering. Experiment with different beans, tailor the spice level to your liking, and pile on your favorite toppings to make this recipe uniquely yours. Get ready to add this easy, delicious, and award-worthy chili to your regular rotation!
